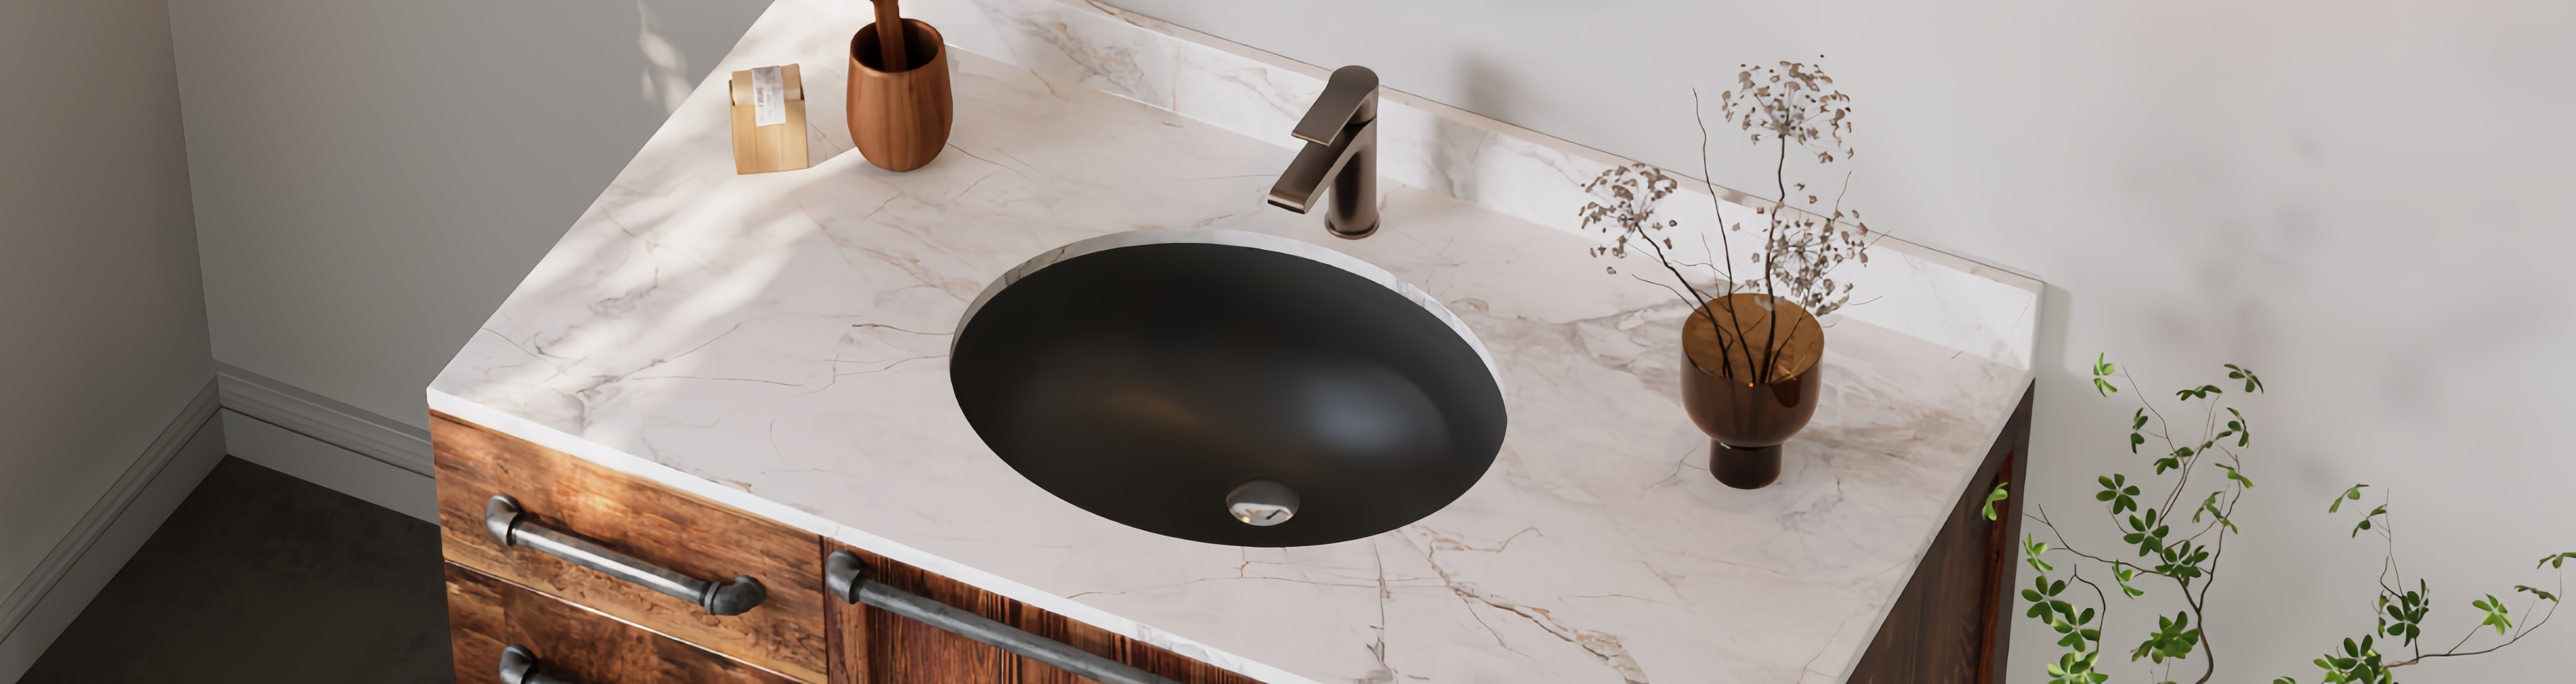
Upgrade your bathroom's style with the sleek undermount sink design. Follow our guide for key steps in a polished installation. Dive in for an effortlessly sophisticated and functional result.
Step 1: Verify the Cabinet Clearance
Before diving into the installation process, it's crucial to ensure that your cabinet has sufficient clearance for the undermount sink. Measure the space to guarantee a perfect fit and make any necessary adjustments to accommodate the sink.

Step 2: Clean the Bottom of the Countertop and the Edge of the Sink
Start by thoroughly cleaning both the bottom of the countertop and the edge of the sink. This step ensures a clean surface for a secure bond when applying silicone sealant later in the process.

Step 3: Install the Sink Clips Loosely
Place the sink clips onto the sink's edge, ensuring they are evenly spaced. Install them loosely at first, allowing for adjustments during the positioning of the sink.

Step 4: Apply Plenty of Silicone Sealant
Carefully apply a generous amount of silicone sealant around the surrounding area of the sink cutout. This creates a watertight seal and helps secure the sink in place.

Step 5: Position the Sink and Secure with Clamps
Carefully position the sink under the opening in the countertop. Fix the sink in place and rotate each clamp to the side. Quickly tighten the clamps to secure the sink firmly in its position.

Step 6: Wipe off Excess Sealant
After securing the sink, wipe off any excess sealant immediately. This not only ensures a clean appearance but also prevents any unwanted residues.

Step 7: Complete Faucet and Drain Installation
With the sink securely in place, proceed to install the faucet and drain components.

Step 8: Check for Leaks
Make sure to tighten any loose connections and ensure a watertight seal before considering the installation fully complete. Once done, turn on the faucet to thoroughly inspect all sink connections for any potential leaks.

By following these step-by-step instructions, you can successfully install an undermount sink in your bathroom. Take your time, pay attention to detail, and enjoy the enhanced beauty and functionality that an undermount sink brings to your space.
Products Recommended:
DV-1U101/0085/0086 Ally 21"*15" Rectangular Undermount Bathroom Sink with Multi Colors, Overflow Hole
DV-1U201 Ursa 21"*15" Rectangular Undermount Bathroom Sink, Overflow Hole
DV-1U301 Liberty 16 1/2" X 13 3/8" Oval Undermount Bathroom Sink, Overflow Hole
Share:
How to Measure Bathroom Faucets Correctly
How to Accurately Measure Your Kitchen Sink