

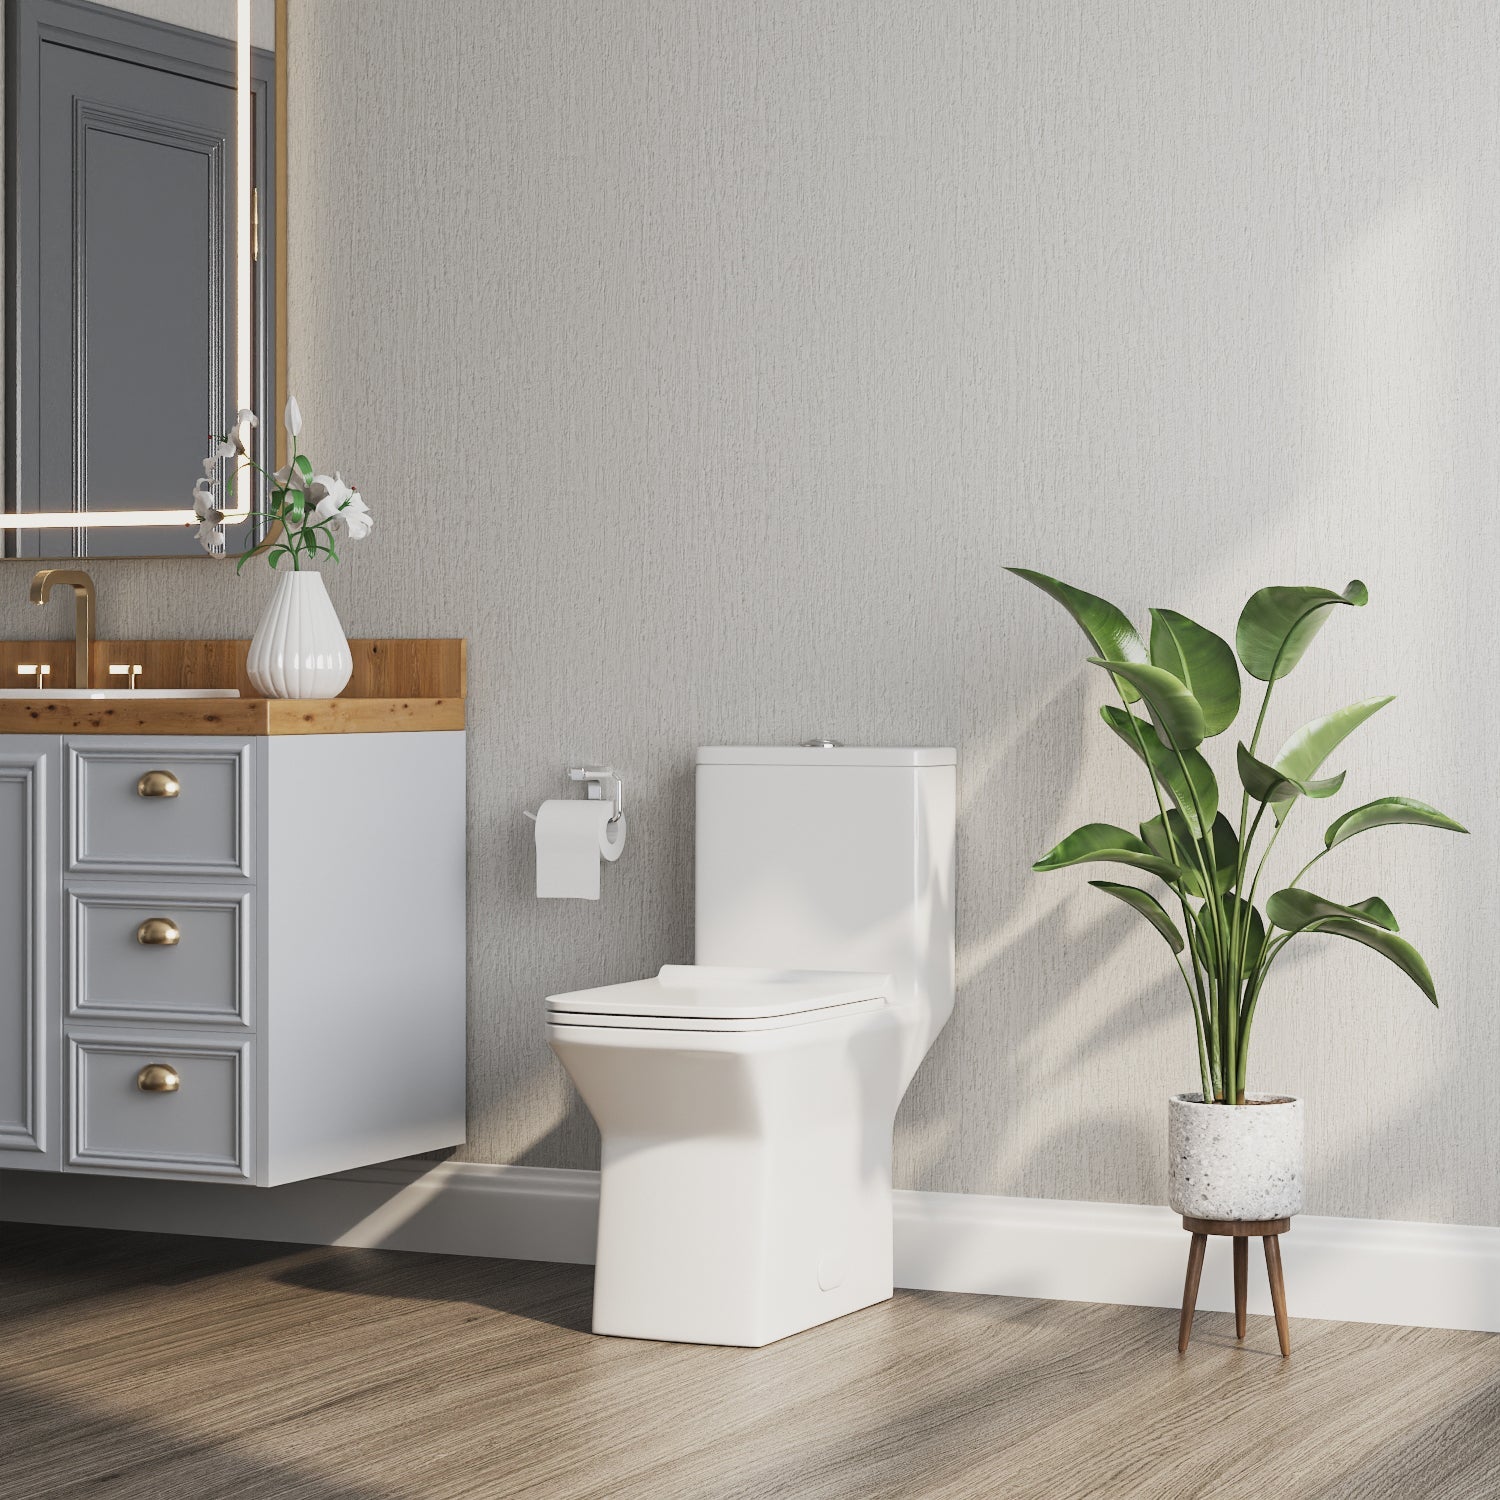
This installation guide provides detailed step-by-step instructions to ensure a smooth and successful toilet installation process.
Step 1: Ensuring Proper Measurements
Before jumping into the installation process, it's crucial to ensure that the shut-off valve is positioned at least 7 1/2" away from the center of the drain. This will allow for easy access and prevent any obstacles during the installation.
Step 2: Installing Closet Bolts
Start by installing the closet bolts to the flange channel. To do this, turn the bolts 90º and slide them into place, ensuring they are 6" apart and parallel to the wall. These bolts will provide the necessary stability for the toilet.

Step 3: Applying the Wax Ring
Place the toilet on the floor (using a cushion to prevent damage) and install the wax ring evenly around the waste flange. Make sure the tapered end of the ring is facing the toilet. This wax ring creates a watertight seal between the toilet and the drainage system.

Step 4: Positioning the Toilet on the Flange
Lower the toilet onto the closet bolts so that the bolts project through the mounting holes in the base of the toilet. Gently rock the toilet to press the bowl downward onto the wax ring and flange. Proceed to install the washer and nut in sequence. Alternately tighten the nut until the toilet is firmly sealed to the floor. Finally, install the cap for a clean and finished look.
Step 5: Installing the Toilet Tank
Place the tank gasket over the tank nut, ensuring there are no gaps between the tank and the gasket. Insert the two tank bolts into the tank mounting holes, then guide the bolts to align the tank with the bowl. Tighten the nuts alternately to stabilize them on the toilet bowl.
Step 6: Fitting the Toilet Seat
-
Open the hinge cover

-
Insert plastic screws into the holes of the hinges

-
Place the seat on bowl, adjust it in perfect position

-
Turn (B) onto (A) all the way up, finish finger-tightening from top

-
Tighten the nut (A)

-
Close the hinge cover

Step 7: Installing the Flush Button
Remove the plastic nut from the lever arm by turning it clockwise. Insert the lever arm through the square hole on the front side of the tank, and then tighten the plastic nut counterclockwise to secure it. Attach the chain from the flapper to the trip lever arm, ensuring there's enough chain length to fully raise the flapper. Cut any excess chain length and insert the refill tube into the overflow tube, securing it with the provided clip. Remember to connect the flexible water supply line to the shut-off valve and perform a flush test to check for any leaks.
Conclusion:
According to our step-by-step instructions, you will successfully install a two-piece toilet. If you have any questions or need further guidance, please contact us.
Products Recommended:
DeerValley DV-2F0079 Dynasty Round Floor Mounted Two-Piece Toilet
DeerValley DV-2F0078 Dynasty Dual-Flush Elongated Floor Mounted Two-Piece Toilet
DeerValley DV-2F0077 Dynasty Round Floor Mounted Two-Piece Toilet
DeerValley DV-2F0076 Dynasty Dual-Flush Elongated Floor Mounted Two-Piece Toilet
DeerValley DV-2F52531 Dynasty 1.28 GPF (Water Efficient) Elongated Two-Piece Toilet
Share:
8 Effective Methods to Unclog Your Toilet
10 Expert Tips for Removing Toilet Stains and Keeping Your Bathroom Clean