Tools and Materials:
|

Step 1: Location and Dimensions
Determine the desired position for your shower niche. Create and level the dimensions of the wall section according to the measurements of the niche.
Step 2: Apply Silicone Sealant
After thoroughly cleaning the area, apply silicone sealant around the back flange of the shower niche. Then, apply sealant to the back of the niche itself.
Step 3: Insert and Fix
Carefully insert the shower niche into the prepared wall section from Step 1. Ensure it is securely fixed in place.
Step 4: Seal the Joints
Using silicone sealant, seal all the joints around the niche to create a waterproof seal. Your shower niche is now ready for use!
Products Recommended:
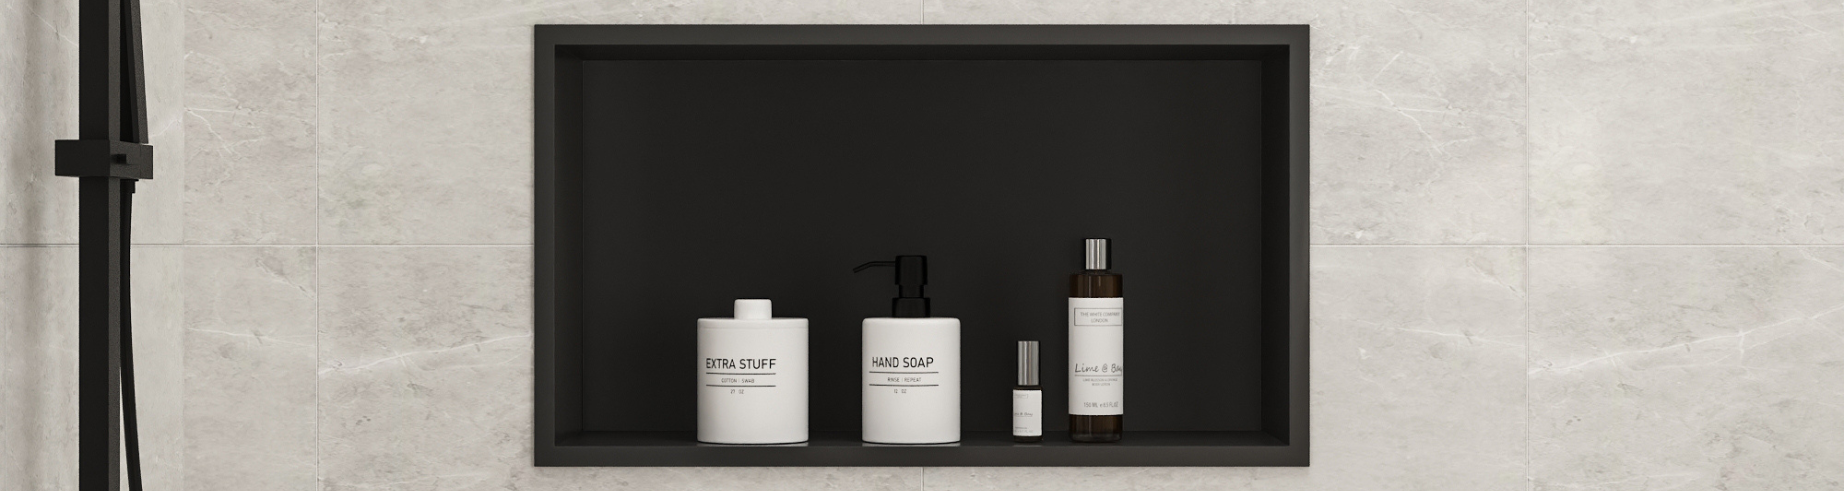
DV-1SN0115 25.26" W X 14.44" H Rectangular Single Layer Shower Niche, Space-Saving
DV-1SN0113 14.26" W X 25.26" H Rectangular Double Layer Shower Niche, Space-Saving
DV-1SN0112 15.86" W X 23.86" H Rectangular Double Layer Shower Niche, Space-Saving
Share:
What Are the Benefits and Drawbacks of a Fireclay Kitchen Sink?
Choose the perfect bathroom sink for you