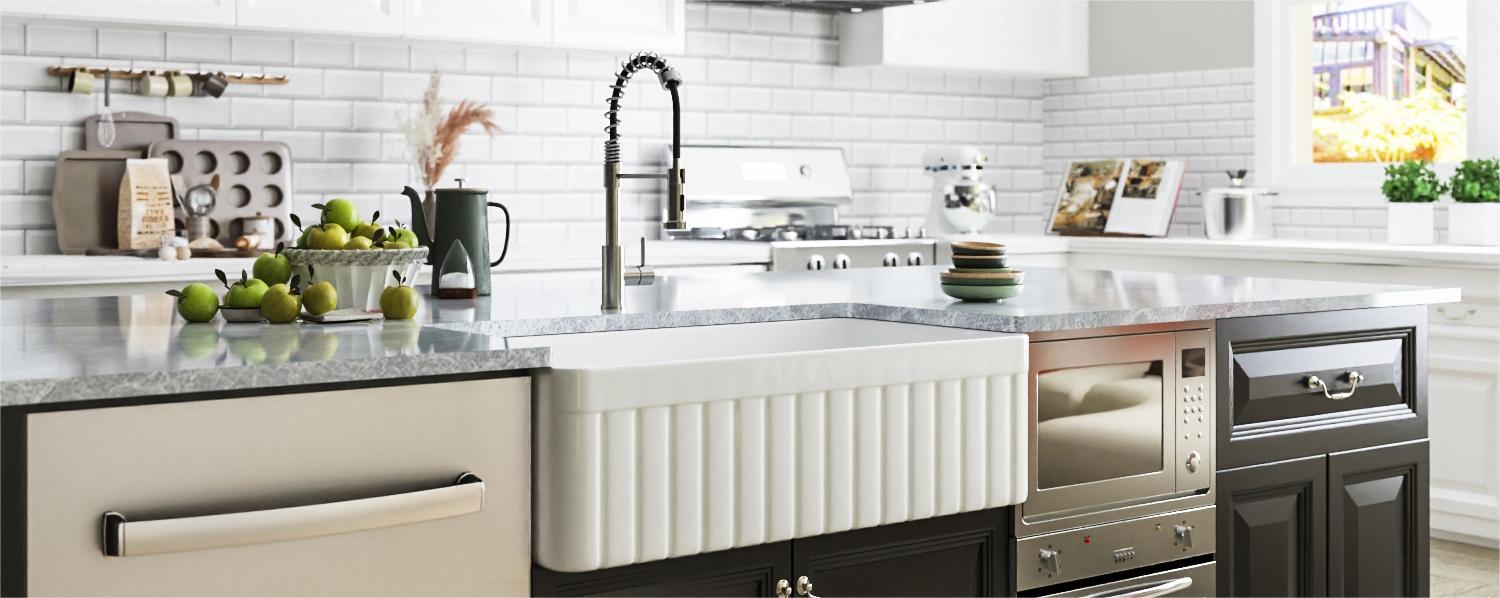

When it comes to installing a farmhouse kitchen sink, we recommend the apron installation method. Flushmount, Undermount, Overmount, or Drop-In installations are not suitable for this type of sink. Additionally, ensure that there is enough room for the faucet and backsplash installations.

2.1 Unpacking and Inspection:
Before proceeding with the installation, carefully unpack and inspect the sink for any shipping damages. Make sure that all required pieces are present and undamaged. If you notice any issues, please contact us immediately. Your satisfaction is our top priority.

Due to the manufacturing process, each farmhouse sink may have slight dimensional variations. Therefore, it's crucial to consult with an experienced cabinetmaker to ensure a custom fit. Providing the sink's actual measurements to the cabinet maker will guarantee a seamless installation.

To accommodate the farmhouse sink, custom cabinetry might be necessary. We highly recommend consulting an experienced cabinet maker to assist you in this process. Ensure that there is enough clearance for water supply lines, drains, and a garbage disposal if applicable. Build a support frame or install support bars inside the cabinet to bear the sink's weight.

As each sink varies dimensionally, a template is not provided. After centering the sink, trace its outline on the countertop using a pencil as a guide for the cutout. Be sure to allow clearance for faucets and backsplashes. Proceed to cut the countertop accordingly.

To ensure a perfect fit, test-fit the sink in the cutout created earlier. The entire weight of the sink must be supported by the support frame or bars. Verify that the sink is in line and level with the top of the cabinet. If necessary, use shims to level the sink. Apply sealant to fill any gaps below the sink's front and between the sink and countertop. Securely hold the sink in place, place the countertop onto the sink, and remove any excess sealant from all surfaces.

Share:
Master the Art of Wall Hung Toilet Installation | Step-by-Step Guide
Choosing and Utilizing Bathroom Hardware Accessories: Crafting the Perfect Bath Space